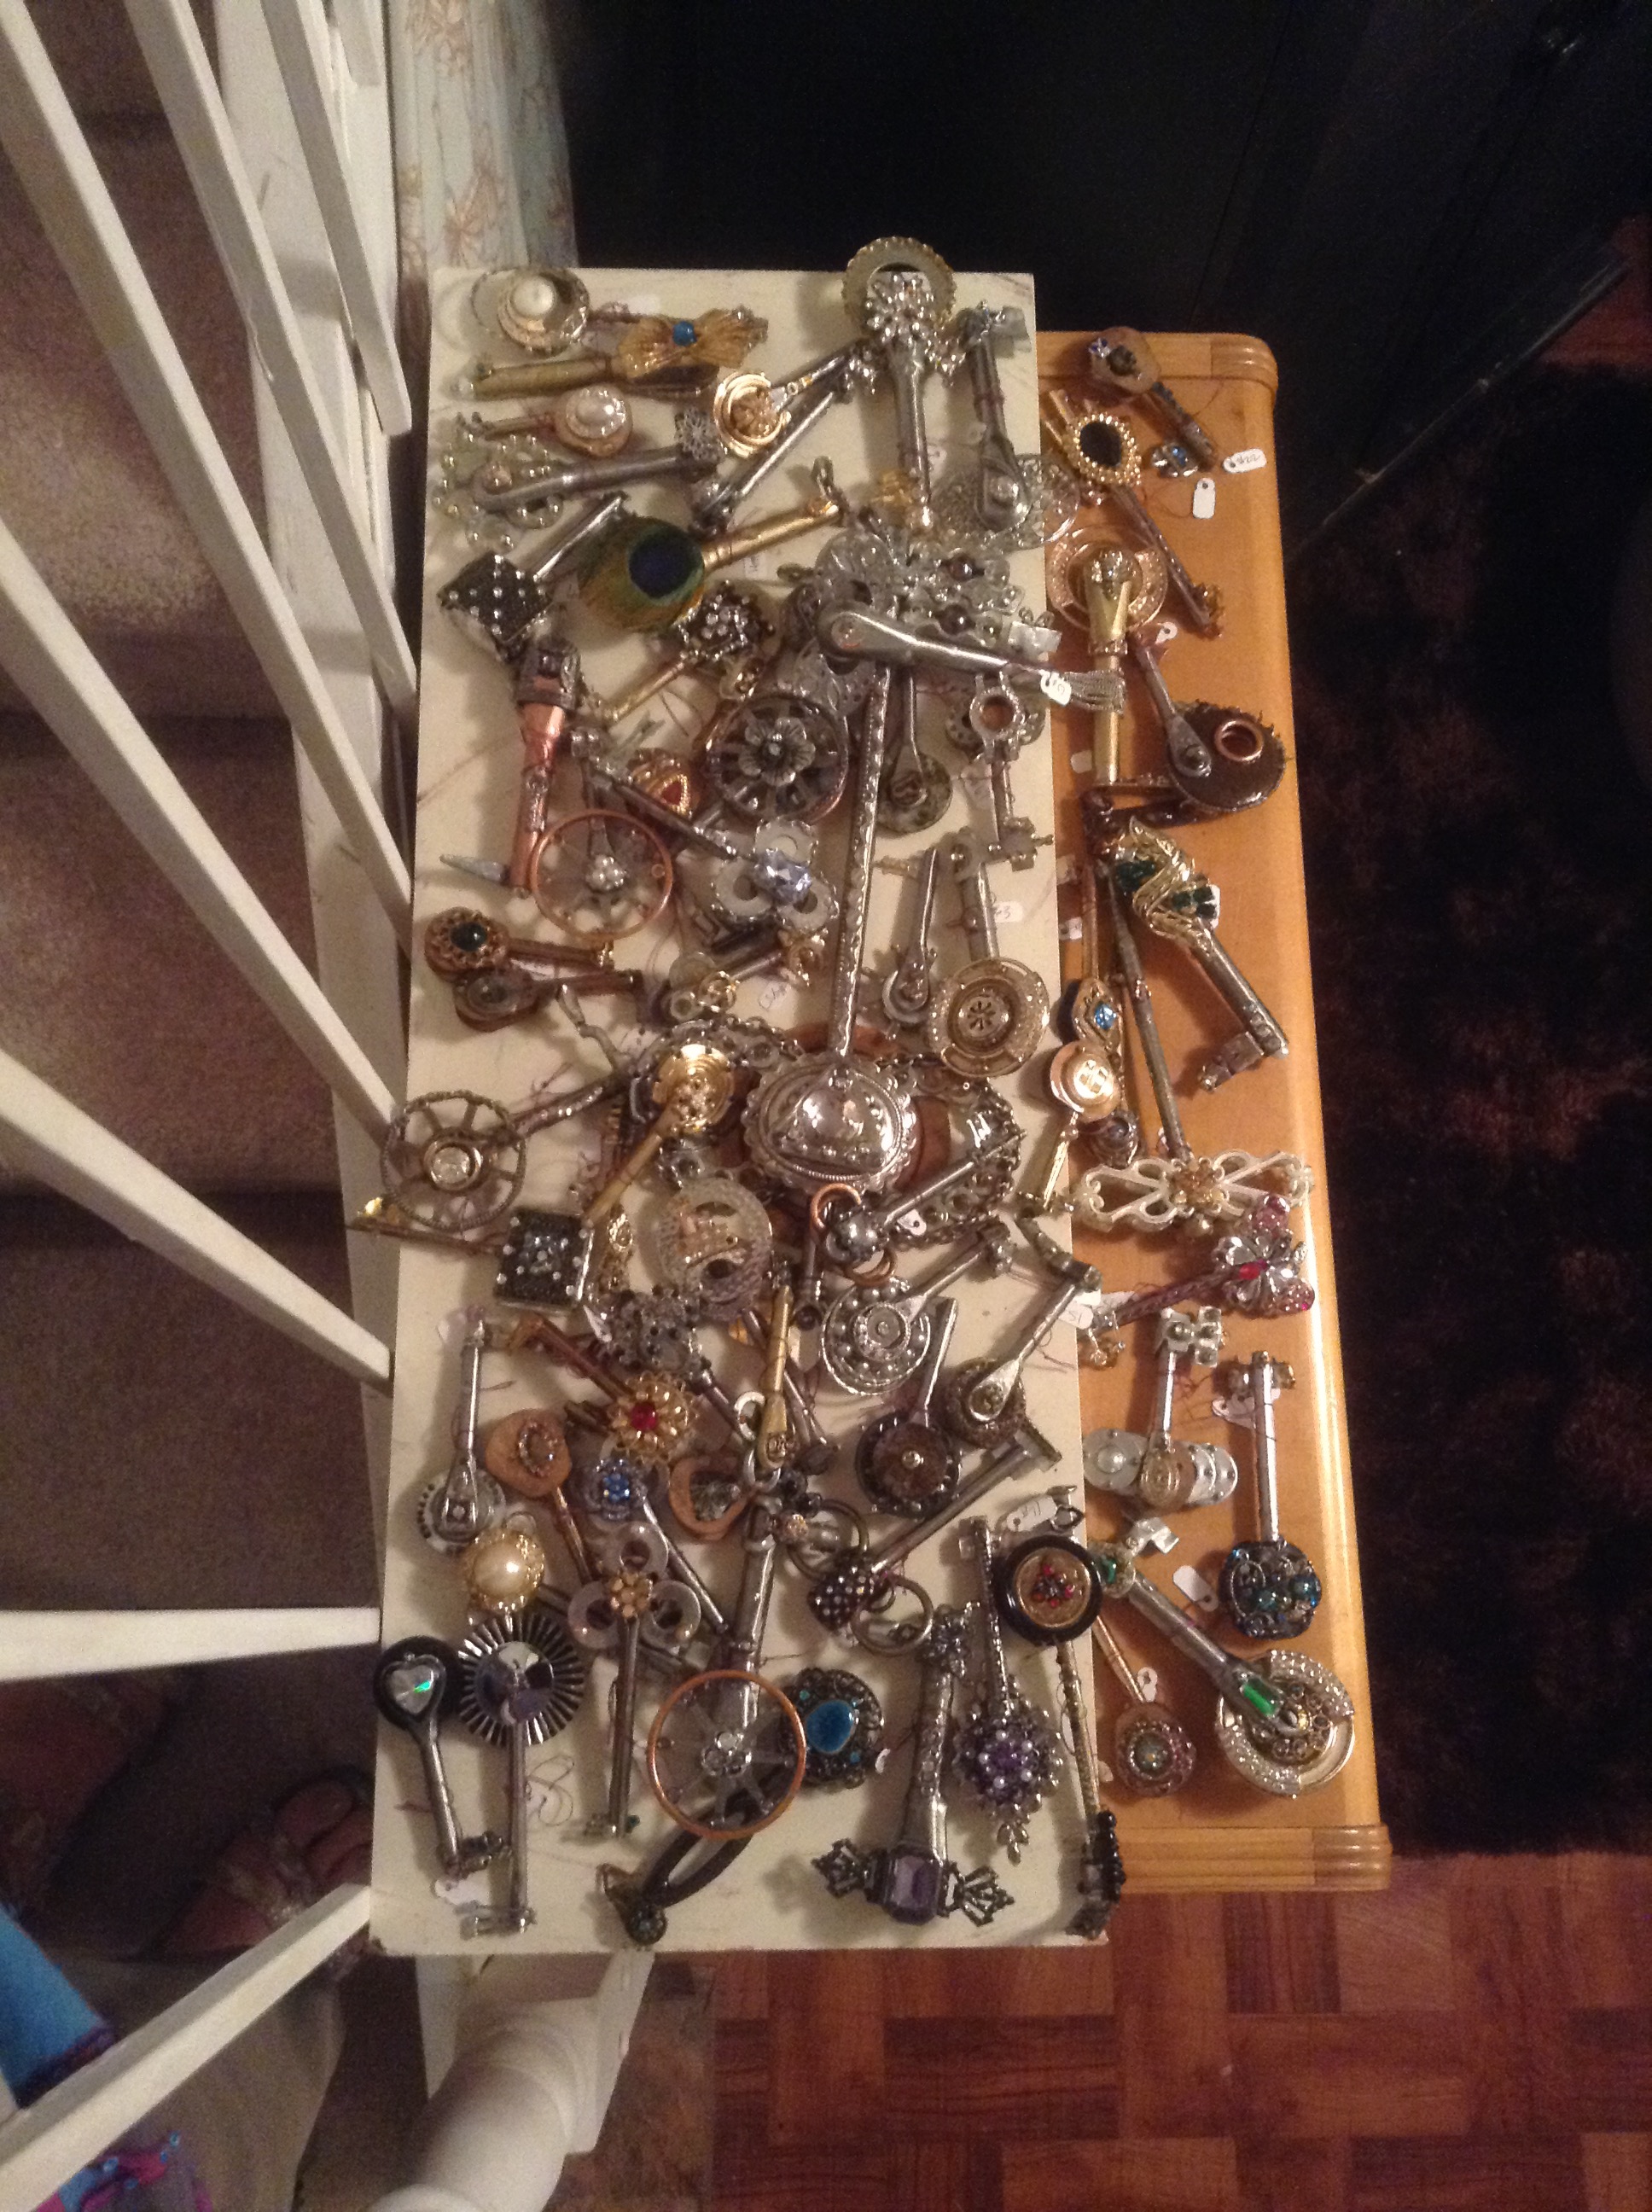
I've been putting resin on to all the unframed keys still in my possession and today I finished that task. Here's a picture of the newly coated keys (around 70):

Since I started using a small brush to apply the resin things are working out quite a bit better. The keys are stronger, the drips are lessening, and I figured out a simpler way to work on the keys (instead of tying them on to a rack I'm using a bit of sticky tack to hold them level on a wire shelf - which frankly, is just a big rack).
It was interesting to go back to all the keys I've made and coat them with resin - it's not that I'd forgotten about some of them - more that I rediscovered them.
I'd put numbered tags on everything and didn't keep track of things when I had to remove the tags to apply the resin. Putting the tags back on was a time sucker. Next time I'll wait until the resin is dry before numbering and documenting the keys.
In the course of re-tagging I realized that I had another new key lurking in my "complete" pile. Key #108:
The end of this key has a teeny carriage charm on it; not sure if you can make it out in the photo...
Even though this is key #108 this is actually the first key that I tried the resin on.
It's great to be caught up - on to some more key-making!

